
 |
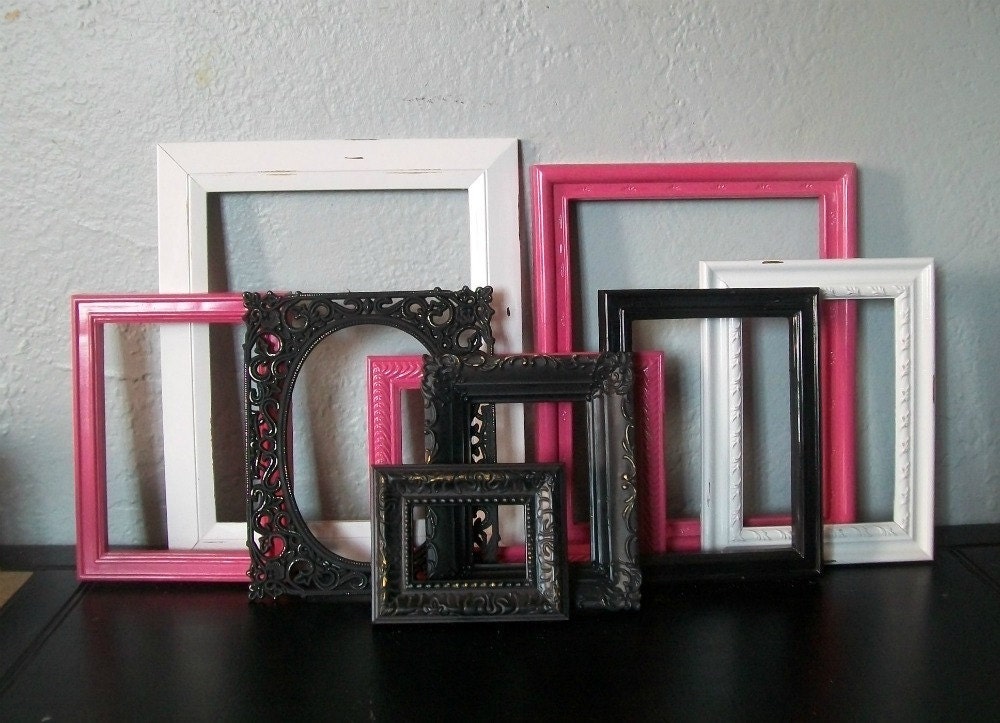
| Upcycled Frames by One Vintage Rose Etsy Shop |
Even though I have an interior design background, let me make one thing clear . . . my interior design teacher never held a class on hanging pictures. All of the sudden after completing four years of college with a BA in Art, I walk into a job interview and they ask me to hang some decorative frames on a wall. What?! Fortunately for me, I'm very resourceful. I took the tools provided and hung the frames on the wall. The only comment they made was that I hung them a little high . . . lol, I had overcompensated for my shortness and they were about two inches higher than they technically should have been.
Suffice it to say, I had to learn how to hang pictures just the same as anyone else has to learn. It takes practice, it takes attention to detail, and it takes a lot of patience. Alright, I guess it does take an eye for design to get the placement visually appealing, but I know you can do it.
Here are some tips that I've learned along the way that make picture hanging that much easier:
 |
| Stanley Measuring Tape via Amazon.com |
While this may seem elementary (my dear Watson), it isn't. We all think we are just that good and think that if we just eyeball it we'll get the frames hung at the same height. No. Not really. I'm not even that good. And yes, I learned the hard way. I have a wall that still haunts me (don't know why I haven't fixed it) . . .
 |
| Stanley 43-511 Level via Amazon.com |
Granted, most times I really can eyeball how straight a frame is by looking at it, but there are a surprising amount of people who absolutely couldn't hang a picture straight if their lives depended on it. Even when I think I've got the frame perfectly straight, this girl uses a level. So save your guest's nerves some strain and get those frames leveled out using a level.
 |
| Clothes Pin Marking Tool Via The Scrap Shoppe Blog |
Some pretty fabulous tools exist to help you get your pictures hung. For instance, the Hang & Level. You hang your photo on the tool, then press a little button to mark your nail spot. Even with this product, you still need a measuring tape and a level. This just saves you the torture of placing your picture frame up on the wall in the exact right spot, pulling it off, then missing the "mark" and hanging it crooked anyway. Been there, done that. Cool tool.
Alternate and cheaper option (thanks to The Scrap Shoppe Blog) . . . take a clothes pin and hammer a nail through it. Hang the picture from the nail on the clothes pin, hold the top of the clothes pin, place the picture where you want it hung, then push the frame towards the wall to leave a mark where you need to place the nail. Voila, cheaper = smarter!
 |
| Paper Bag Trick via BHG.com |
No paper bags are not just for groceries. I found this awesome little trick on Pinterest (originally from Better Homes and Gardens) and am in love. Place your frames on top of a paper bag (you may need to cut open and lay out the paper bag). Trace the frames and cut out the shapes. Take the frame shapes to your wall and use painters tape to attach them to the perfect spots on the wall. Move them around as needed to find the best placement. And yes . . . you still need a measuring tape and a level.
P.S. BHG says to use Kraft Paper . . . so let's just call using paper bags my cheaper version of the same principle.

use your imagination
Just because you've been at tons of people's houses where they hang one piece of art on an entirely empty wall doesn't mean you need to be that boring. Sorry boring wall folk . . . add some spice!!! Try making a collage of frames with pictures, landscapes, and creative photography. Create a zig zag of frames across the back of your sofa! Whatever you choose to do, just remember to be creative and use that imaginarium aquarium . . . (brain). Think out of the frame ;-)
Cool tip with the clothespin!
ReplyDeletegreat paper bag tip!
ReplyDelete